End of winter grafting time!
Here at Wingatui Homestead, grafting apples, pears and other fruit is our main jam.
Come August/Sept thats whats keeping us busy!
Each year we do hundreds of fruit trees for sale, with new varieties coming on all the time and some fun experiments along the way!
Grafting fruit trees onto selected root-stocks is an effective way to propagate new and exisiting apple and pear varieties.
It also keeps heritage or rare varieties alive into the future which in my humble opinion is so important!
We use Quince B or C for our Pears and MM106 or MM116 for our apples.
They are then potted up into grow bags to grow on in our shade house.
Here's a basic guide on how we graft our apple trees:
There are a few different types of Grafting:
Whip and Tongue Graft (What we use - the most common for apples and pears)
Cleft Graft (We also sometimes use this)
Bark Graft (Good for larger trees)
Bud Graft. (Done in summer)
Whip and Tongue Grafting Apple Trees:
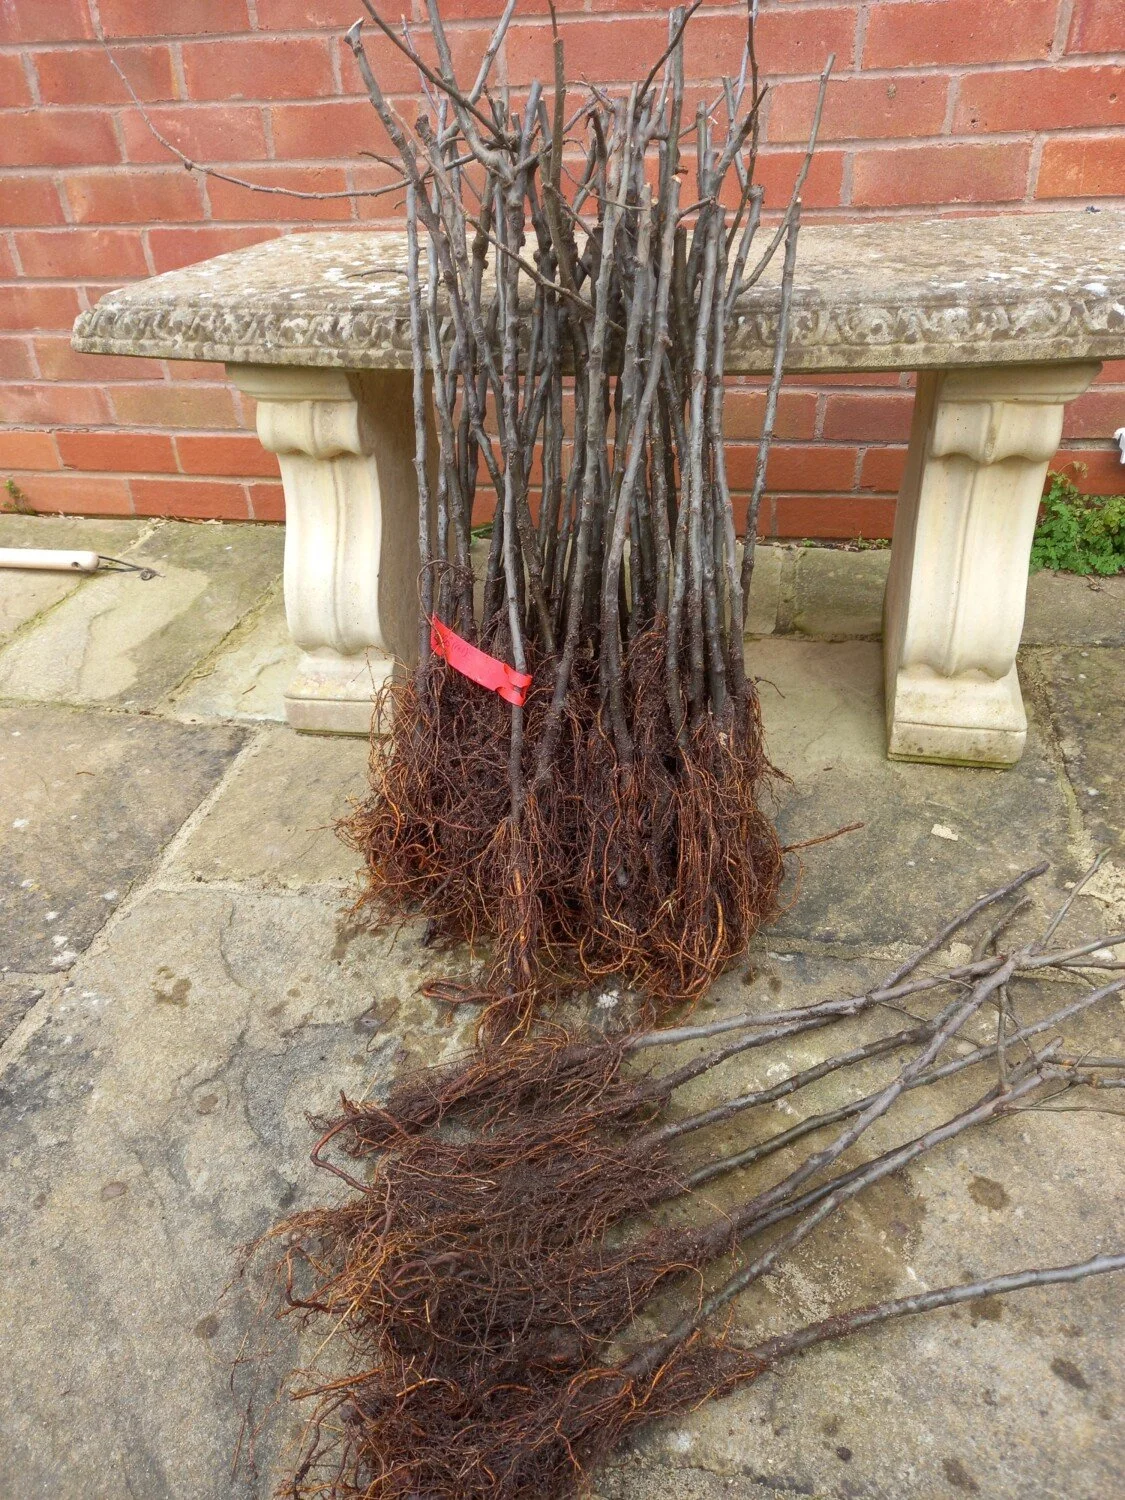
1. First Select Your Rootstock & Scion wood:
Rootstock: This is the root system the desired tree will grow on. Rootstocks are selected for size, vigor, and disease resistance.
Choose one that suits your situation (dwarf, semi-dwarf, or full-size).Scion: This is the piece of wood from the variety you want to grow. Ideally it should be from healthy, 1-year-old wood about the thickness of a pencil.
If no one year old wood is available, older healthy wood can also be used as long as its about the same thickness.
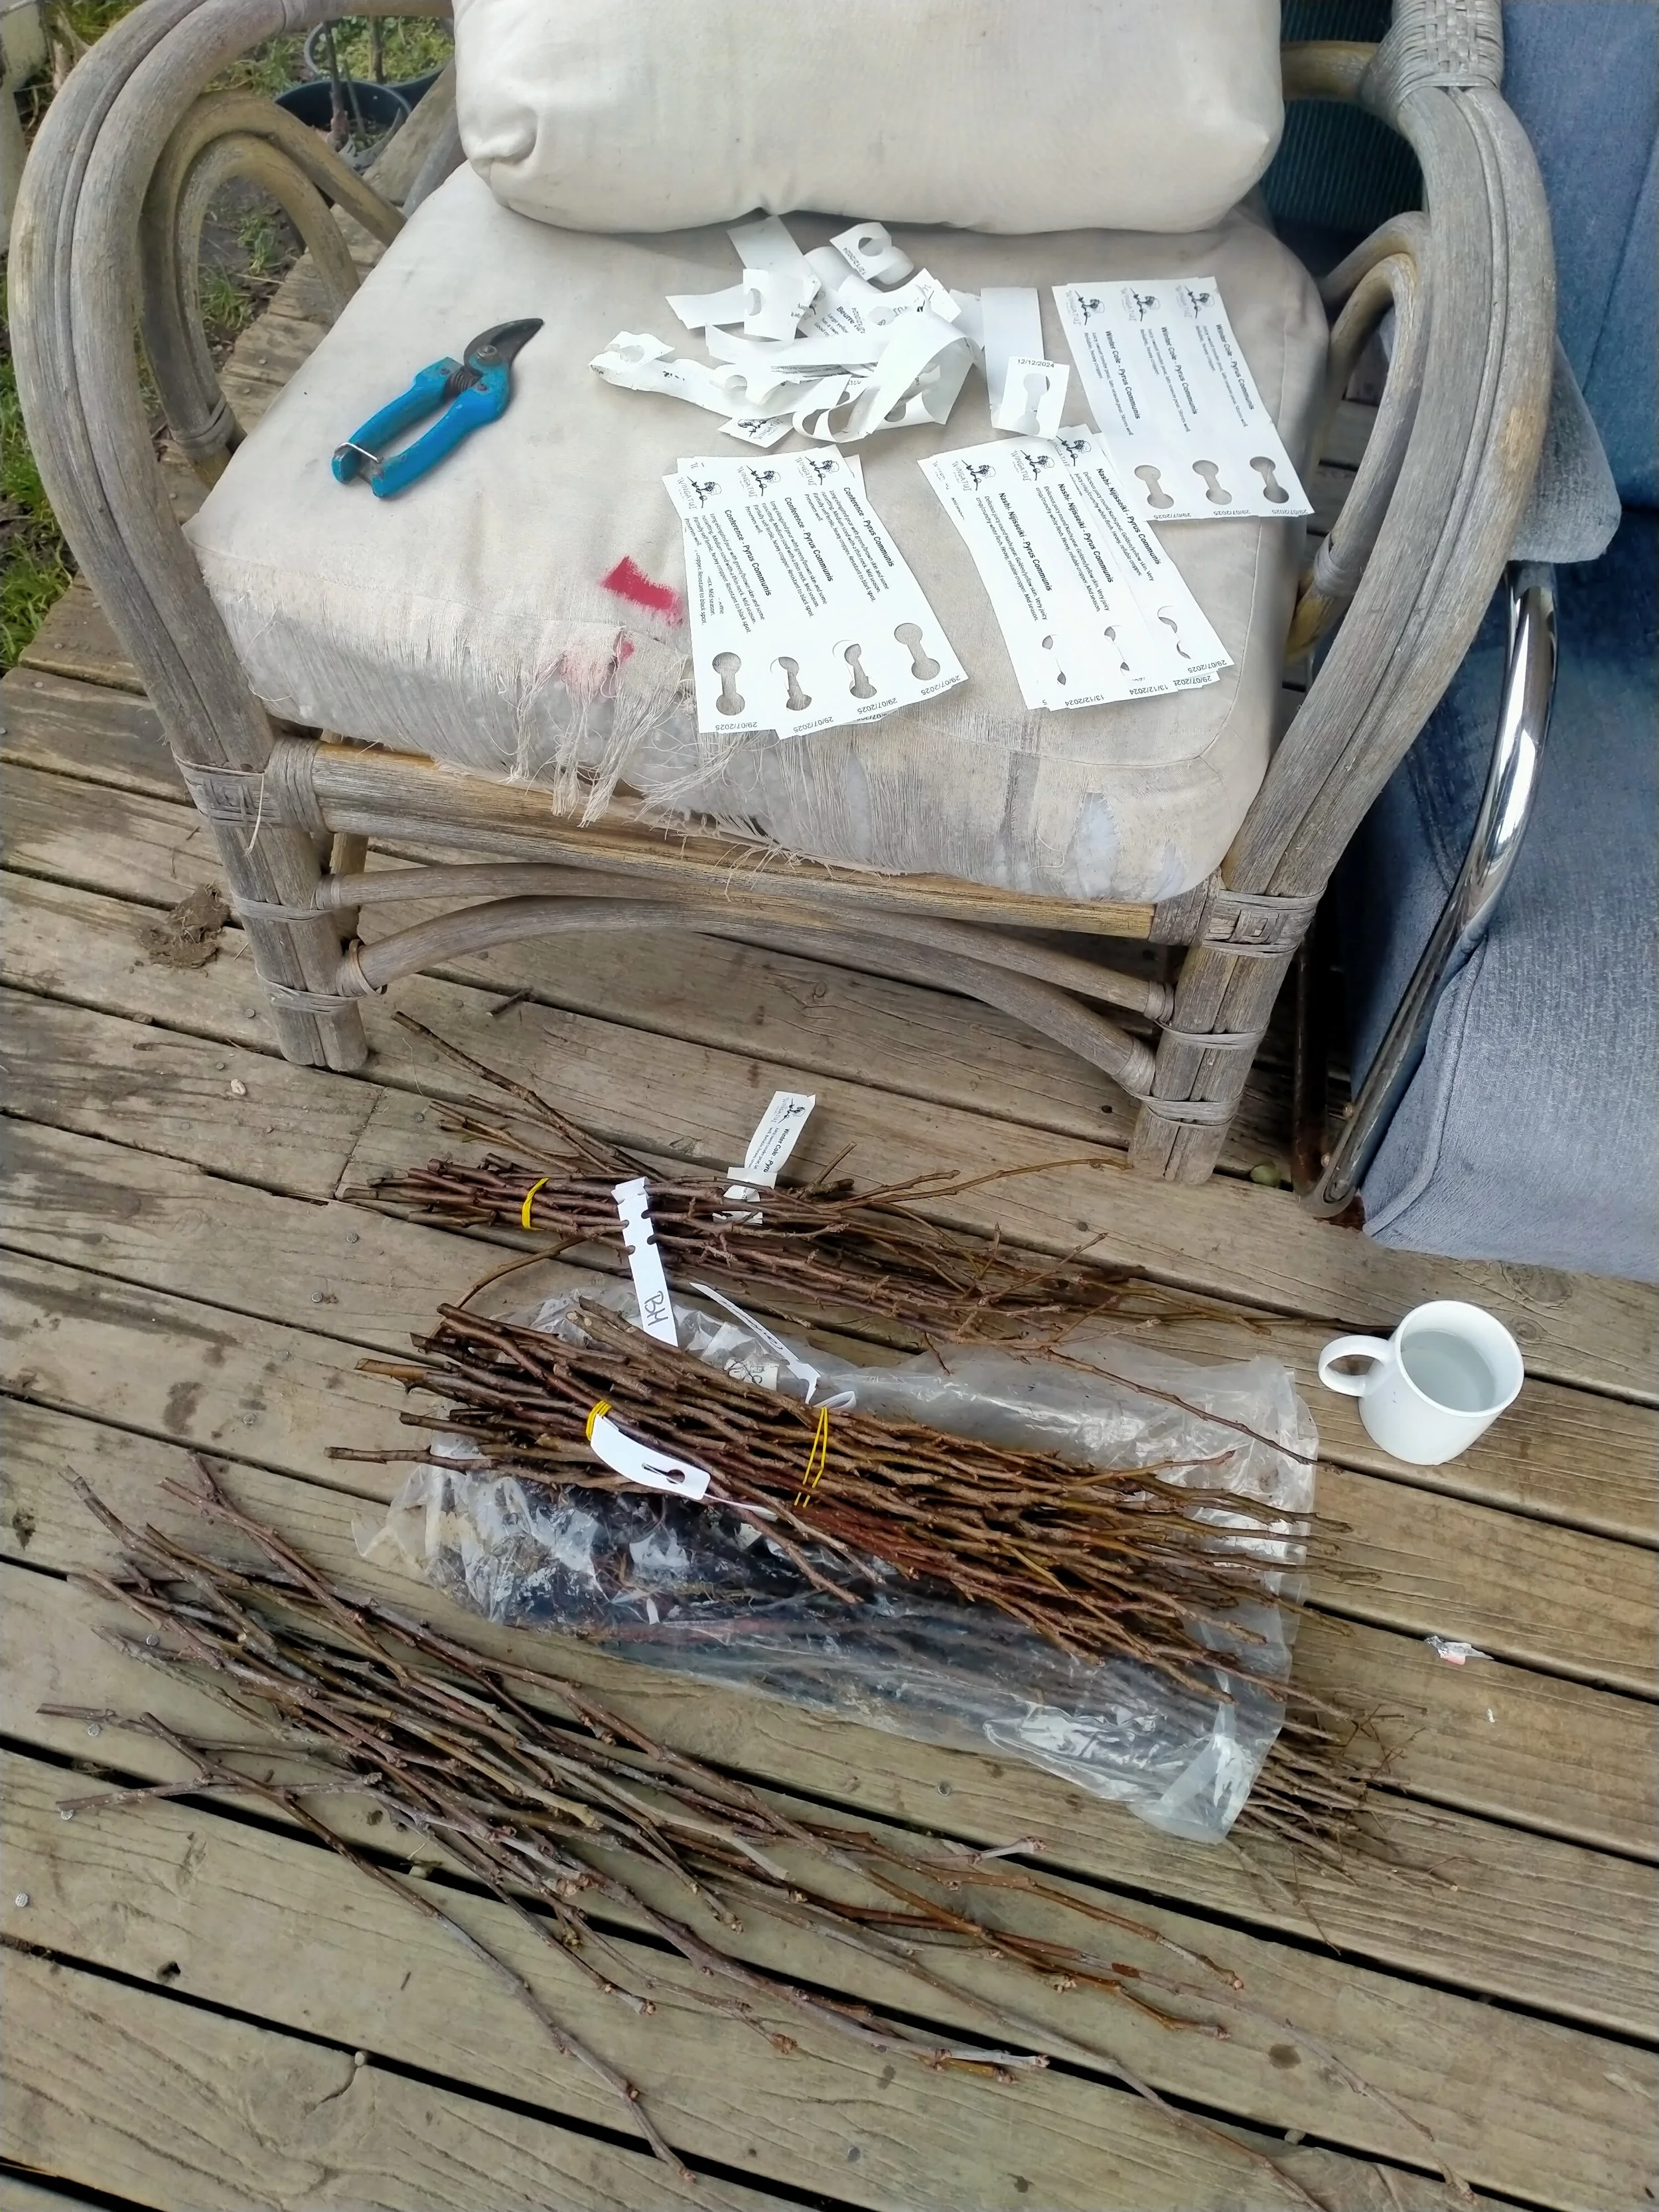
2. Prepare Your Tools:
You will need a Sharp Knife or Grafting Tool: Essential for clean cuts.
Grafting Tape: This holds the grafted wood together and helps it stay moist so it can heal.
Sealant/Grafting Wax: Optional.
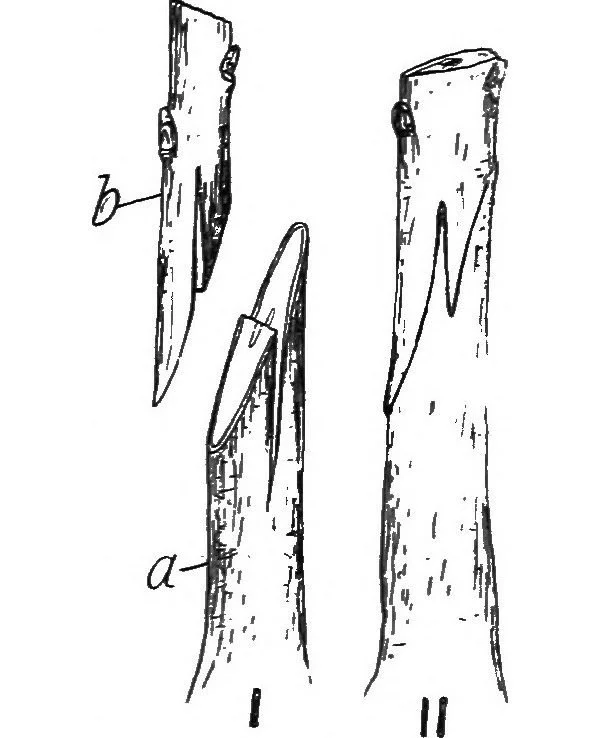
3. Cut the Rootstock and Scion:
Rootstock: Cut the rootstock about 15-20 cm above where the soil line will be.
Scion: Make sure its well labelled!
Cut the piece of the scion wood (anything from about 15-30cm long is fine)
As long as it has at least 2-4 buds on it and try and match the diameter with that of the stock.
4. Matching Cuts and fitting togther:
Rootstock: Cut the rootstock across on a 45 degree angle. In the middle of this cut - cut down into the
stock to create a notch.Scion: Make a matching cut on the scion wood at the same angle then cut into it the notch
or "tongue"and fit the two together.
The cambium layers need to be aligned pretty spot on for the graft to take.
5. Secure the Graft:
Wrap the graft tightly with grafting tape or electrical tape.
Make sure it is secure but not too tight. Keep an eye on it as it heals then remove tape later
on once its healed to srtop it cutting into the tree.
6. Care for the Graft:
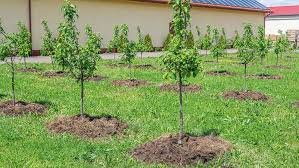
Place the freshly grafted tree in a sheltered, protected environment.
Keep it out of harsh sun, and keep it humid to avoid drying out as it heals and starts growing.Water the graft regularly, but don’t overwater.
Keep an eye out to watch for budding and success!
7. Prune and Maintain:
As the tree grows, prune off any water-shoots that grow below the graft.
Tips for Success!
Timing: The best time to graft apple trees when they are still dormant - which is in the late winter to early spring.
You want to graft just before things start to move as sap is risingCleanliness: Keep your tools clean to avoid any contaimination.
Weather: Avoid grafting in hot, dry, or windy days, as the graft can dry too quickly.
We sell potted trees, rootstocks & scion wood!
Good luck!!